Sparse. Straggly. Shapeless.
We can't be the only ones whose brows are in need of some serious TLC during lockdown.
One of the simplest and most cost-effective ways to give your brows a boost at home is with a tinting kit.
Advert
We'll level with you, though. From colour-matching to application, the world of at-home brow tinting has us a little, well, intimidated.
For that reason, Tyla caught up with brow care expert Suman Jalaf, AKA Brows By Suman, to get her insider know-how on tinting brows from home.
Tinting brows at home
Advert
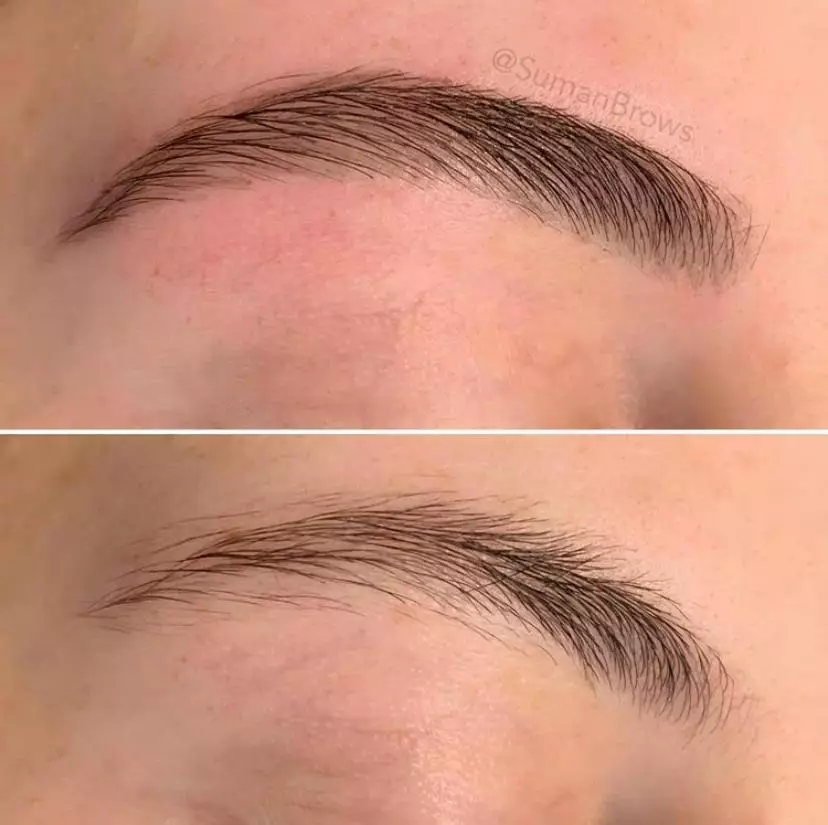
Tinting can do wonders for sparse, thin brows, making them appear full and thick. If done right, an at-home tint job can create beautiful, shaped brows that will last anywhere between one and two weeks.
With top-ups, you can maintain groomed brows without spending too much.
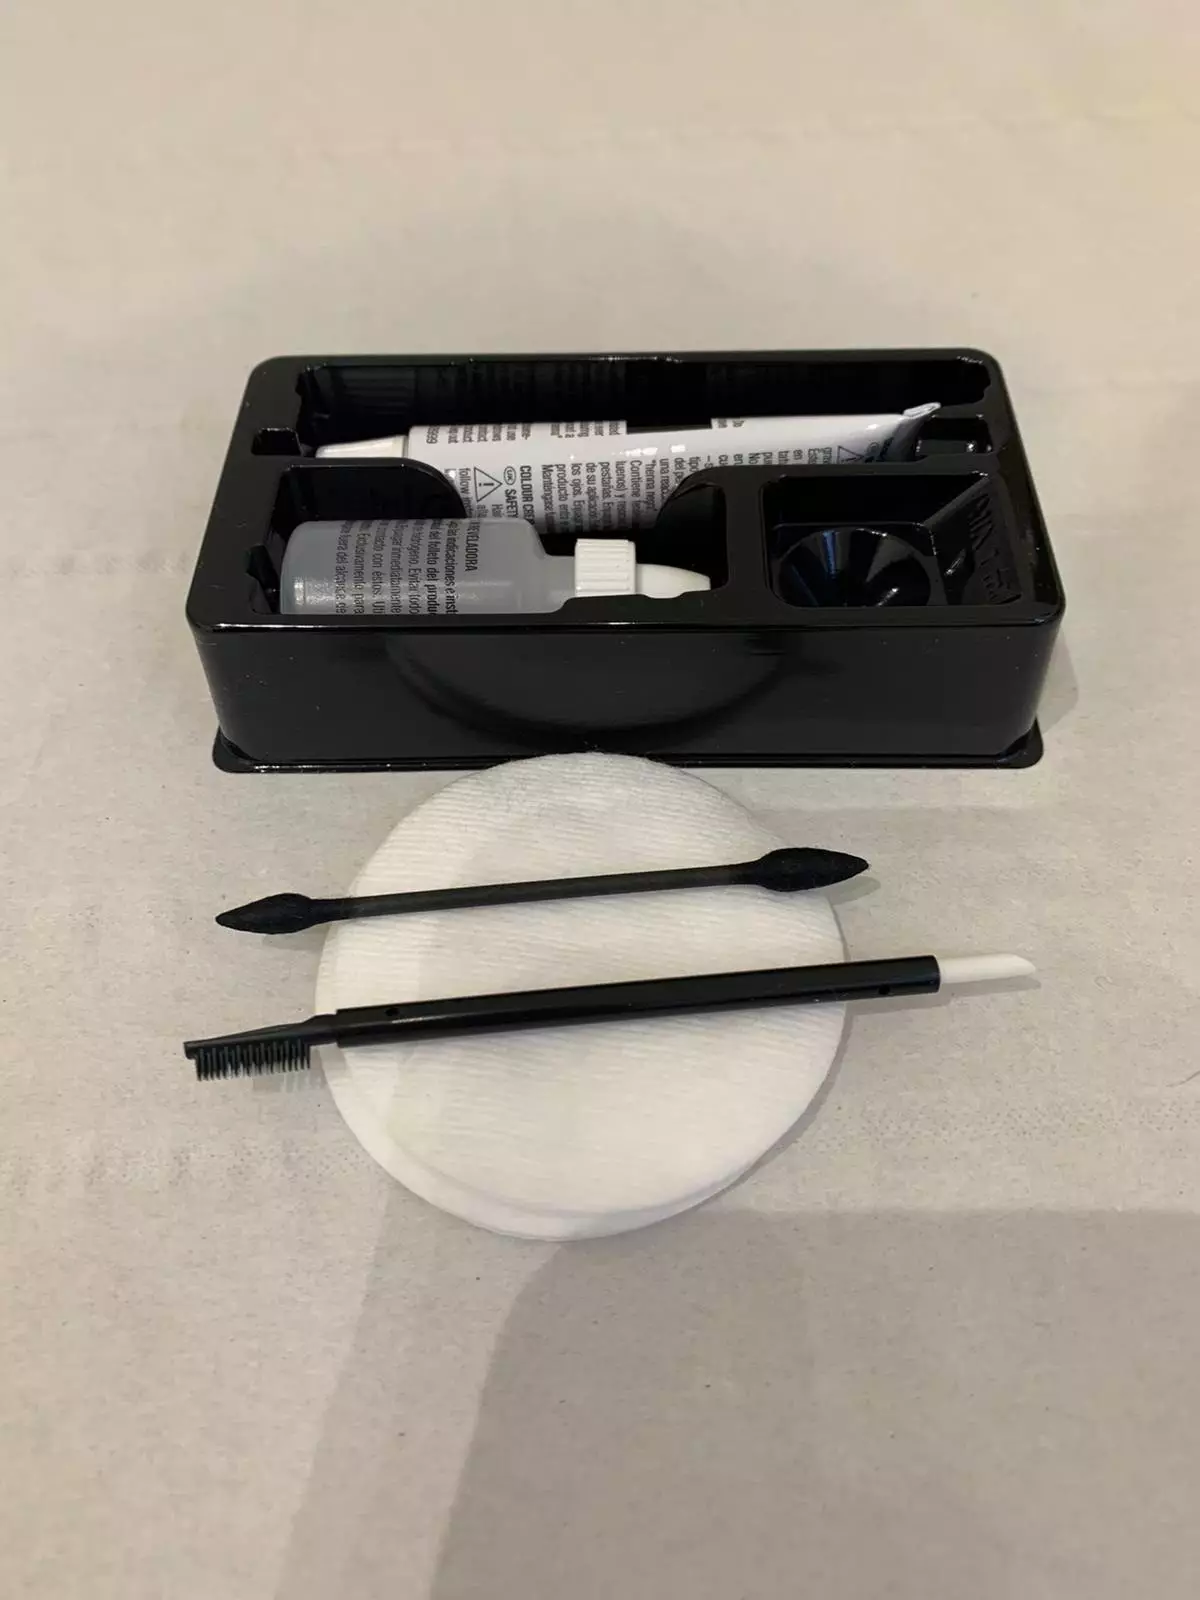
You will need
- A tinting kit (read on for my top recommendations!)
- Micellar water
- Cotton buds
- Cotton pads
- Vaseline
- A brow brush
- Clear brow mascara (optional)
Finding the right shade of tint for your brows
- First, you have to pick the right shade of tint for your brows. A lot of this depends on personal preference.
- Keep in mind that a tint will make your brows 1-2 shades darker.
- For a natural look, fair-haired or mousey-brown brows will benefit from light-to-mid brown shades of tint. Meanwhile, mid-brown to dark-brown brows can be intensified with a dark brown or even black brow tint.
- If it's your first time tinting your brows, it's best to err on the side of caution and opt for a lighter shade of tint initially, and go darker if you need to. Remember, it's much easier to build up colour intensity than take it away!
Choosing your brow kit
Advert
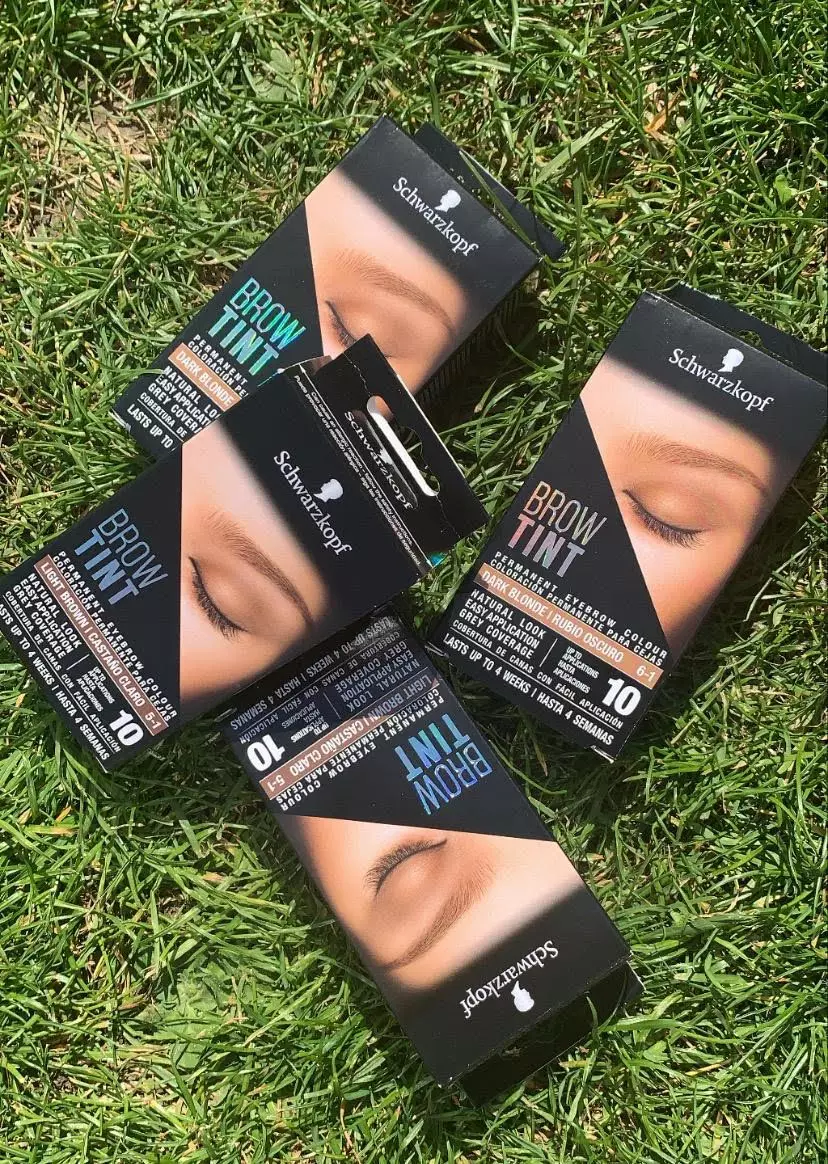
First thing's first, you need an eyebrow tinting kit. Personally, I recommend three types:
- Schwarzkopf Brow Tint, £7.99, available from Boots or Amazon.
- RefectoCil Cream Tint, £7.99, available from Amazon (I use shade dark brown) and you need to purchase the RefectoCil Oxidant Liquid Developer, £12.99, too.
- Eylure's Dybrow kit, £7.40, available from Boots or Amazon.
Step-by-step guide
Advert
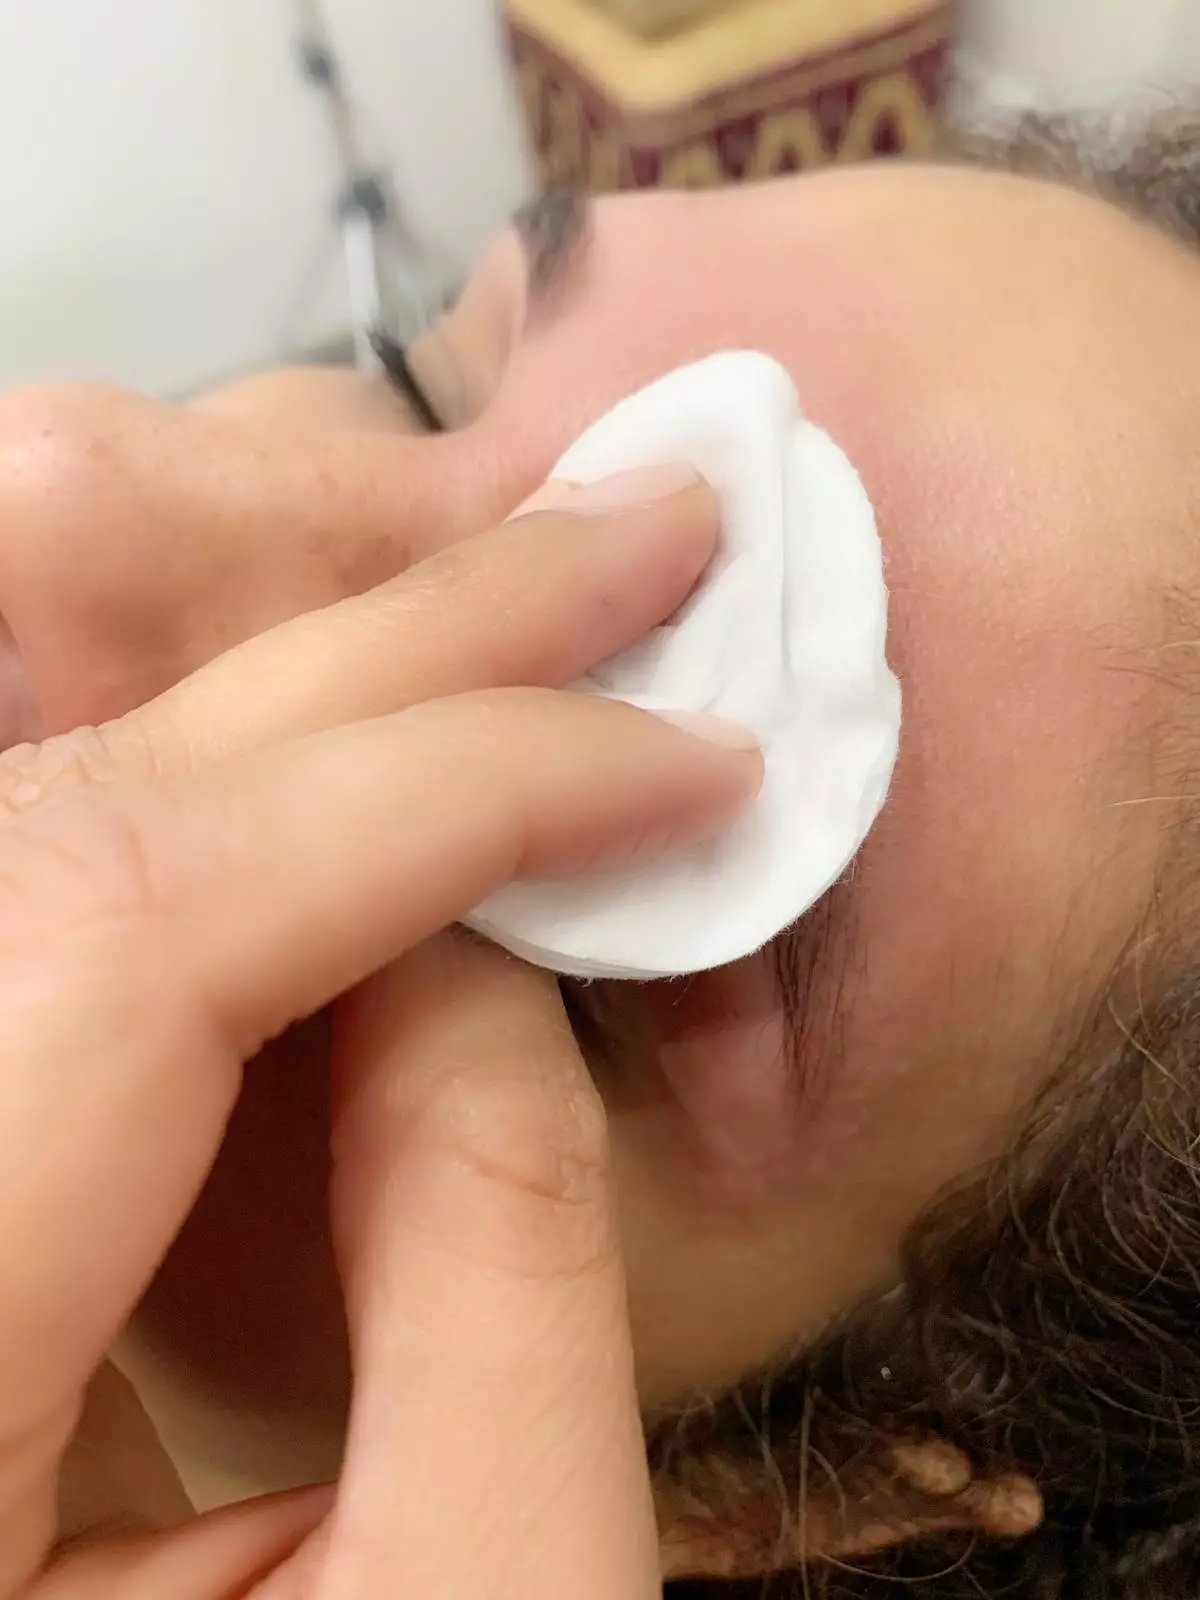
1. First, cleanse the skin or brow area thoroughly with micellar water.
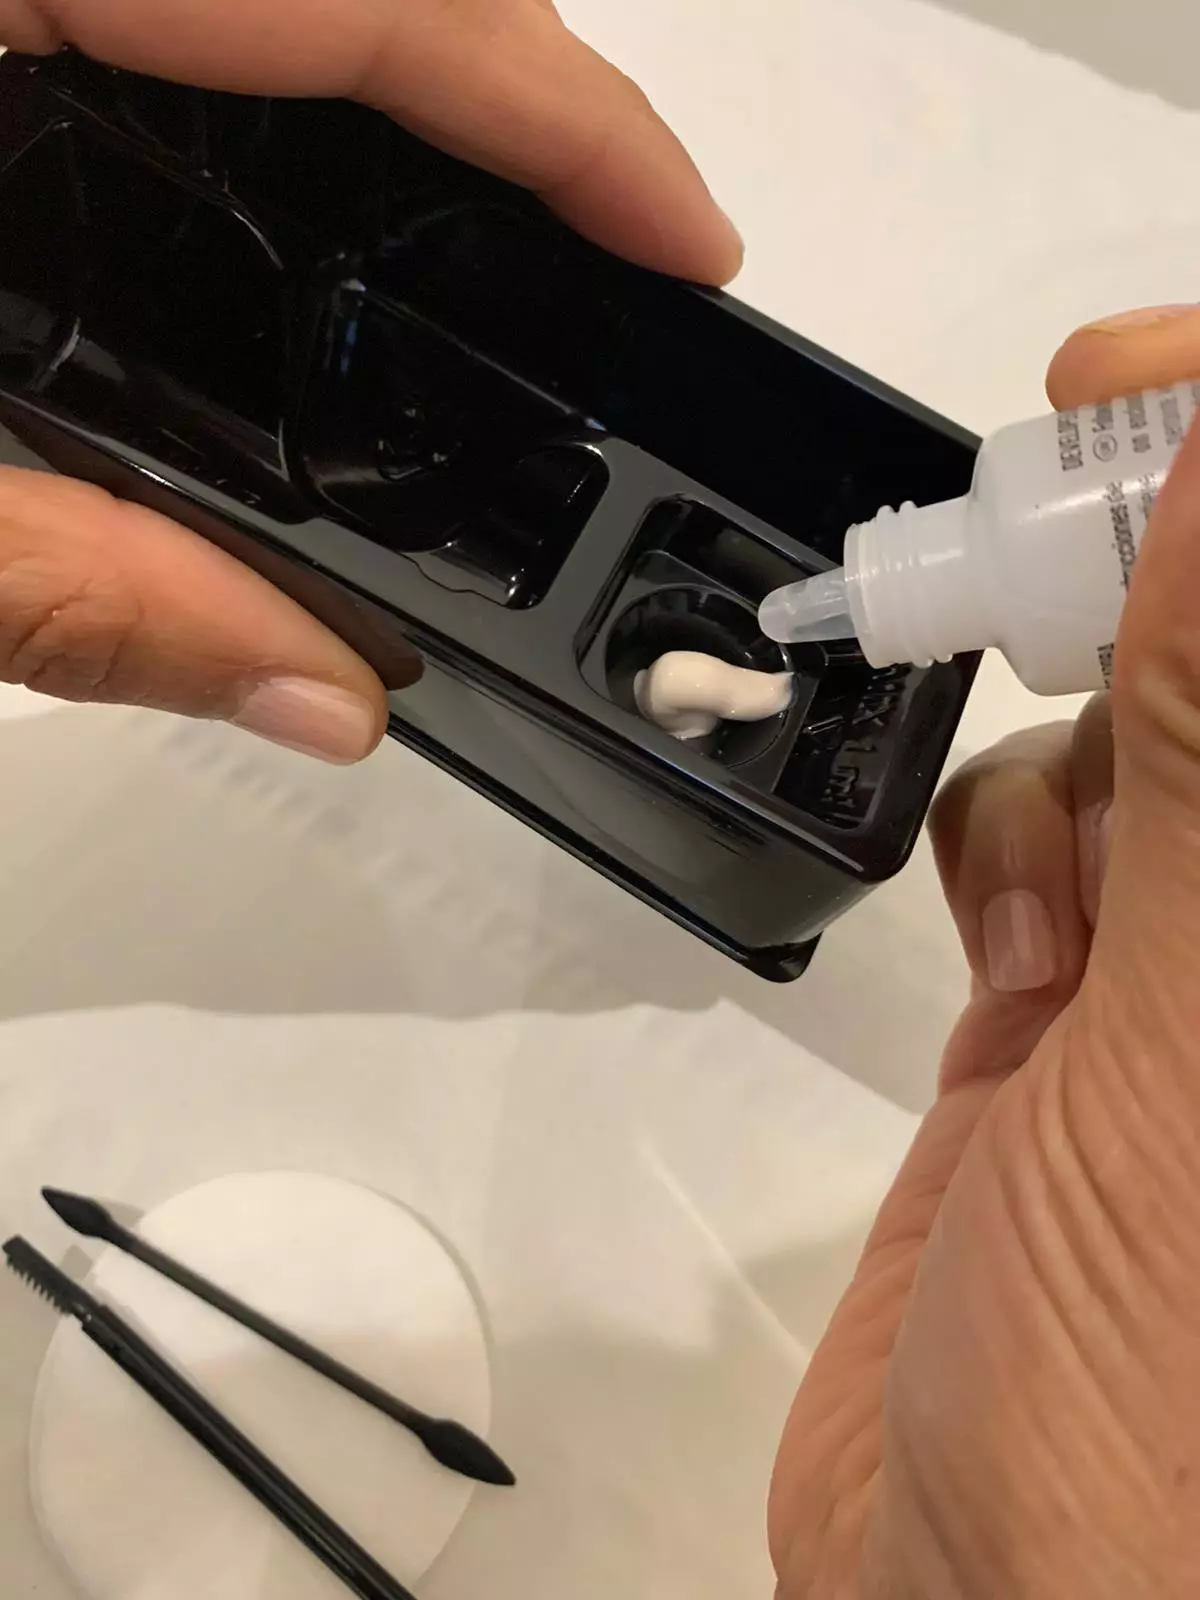
2. Prepping your tint mixture. You'll find a tube of dye cream in the kit, and a dropper bottle of colour activator. Combine 1cm of cream with 4/5 drops of the activator in the mixing dish, for a spreadable consistency.
3. Once your tint is ready and all your makeup is removed, apply a moisture barrier around your brows. This prevents the skin around your brows from staining. A thin layer of Vaseline works well, simply apply above and below your brow shape.
Advert
4. Brush your brow hairs in an upwards motion. This will allow you to see the full brow shape, including any sparse hairs, and will help you with the application process of the tint.
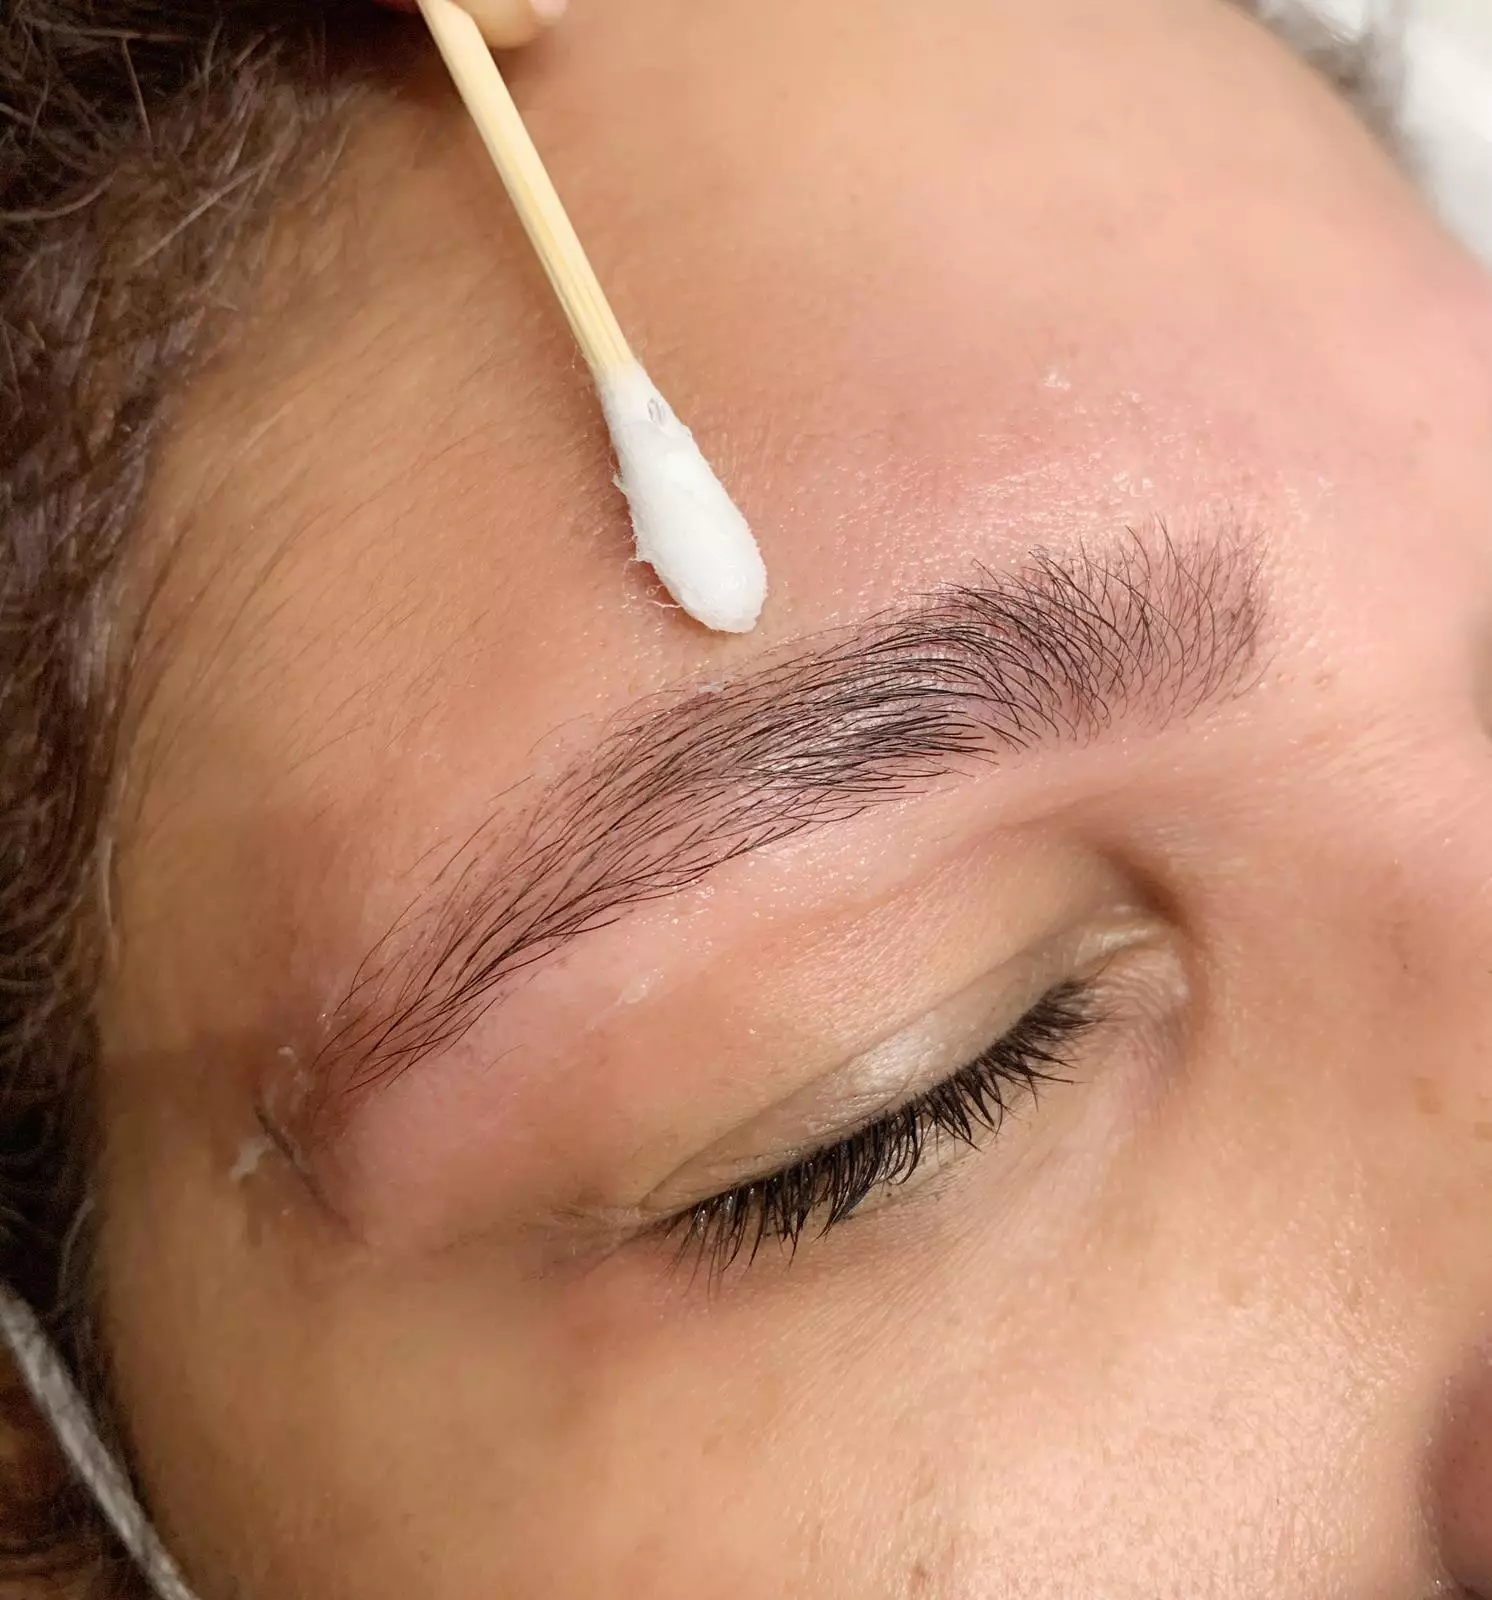
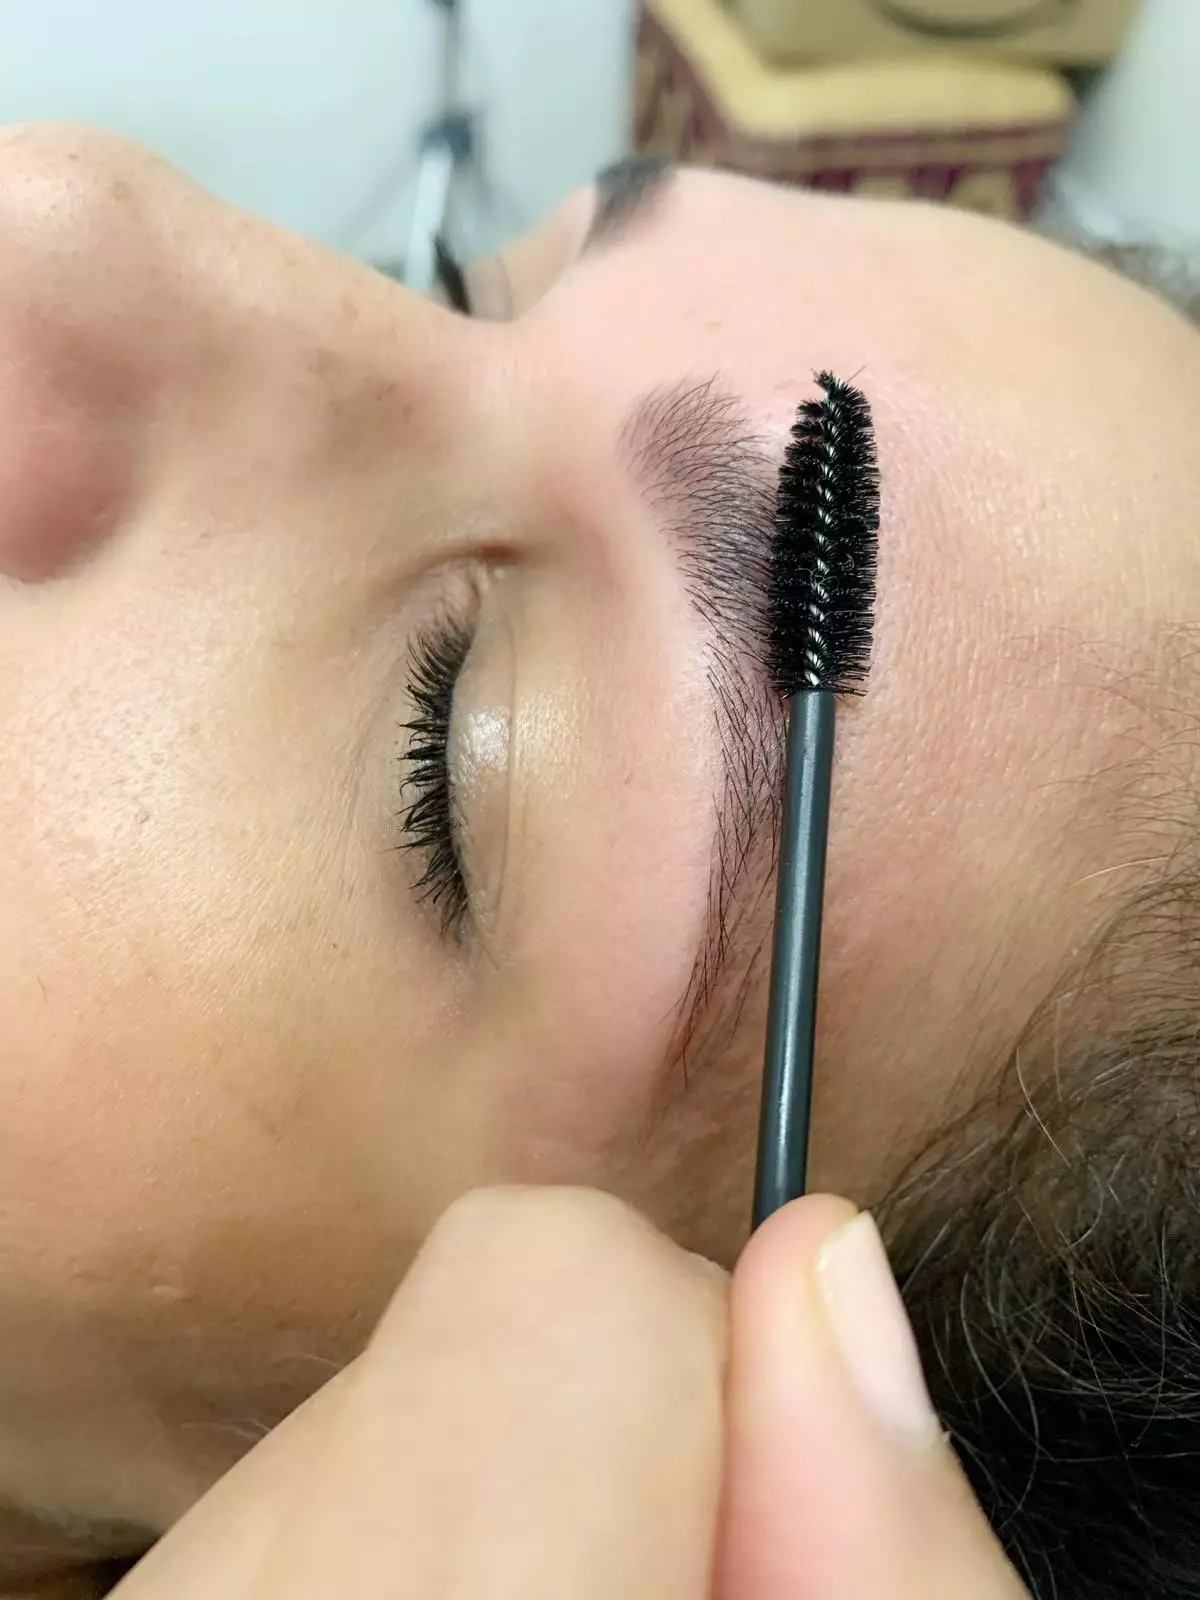
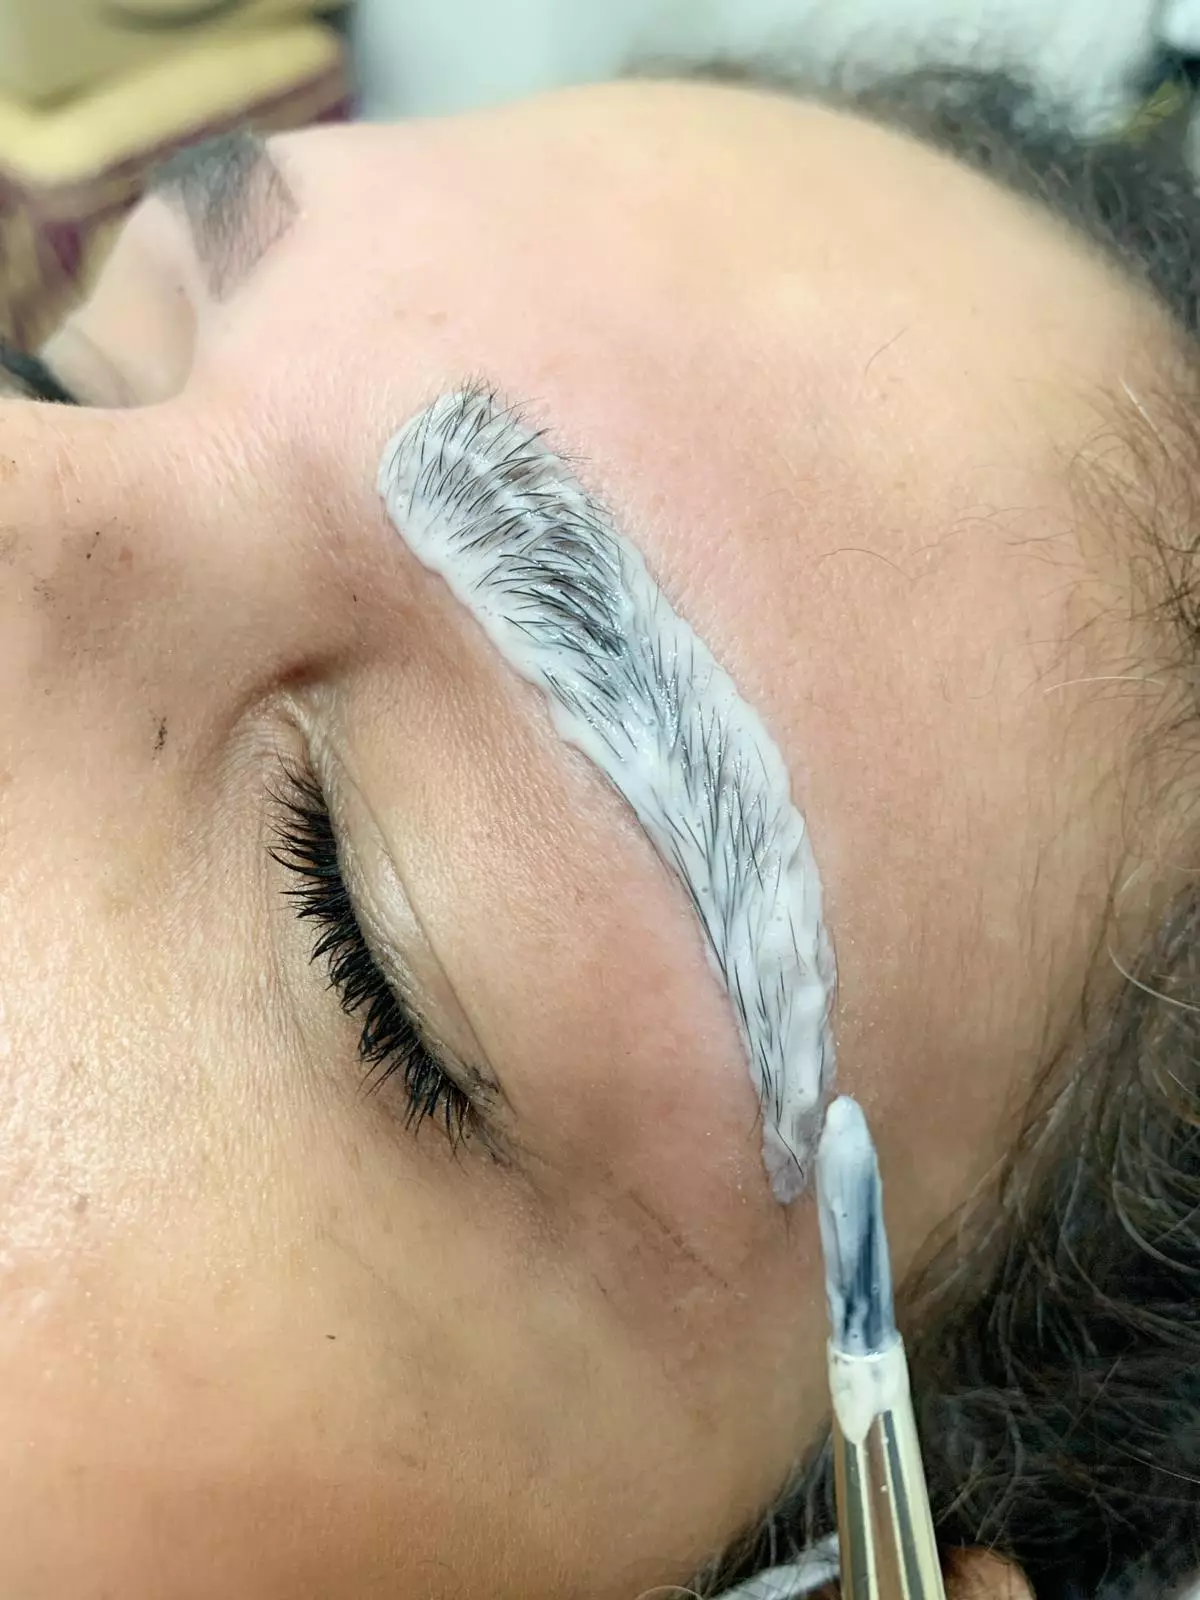
5. Use the applicator to coat your brows, working outwards to the tail end of your brow. Pay particular attention to the areas where you have the lightest hairs or sparse patches.
6. Repeat the process on the left brow.
7. Wait up to 8-10 ten minutes, depending on your desired depth of colour. 15 minutes is the max and only applies to those who want extra dark brows (Cara Delevingne-style!)
8. Remember to remove the tint from the brow you started with, allowing the tint to develop for an extra minute or two on the other.
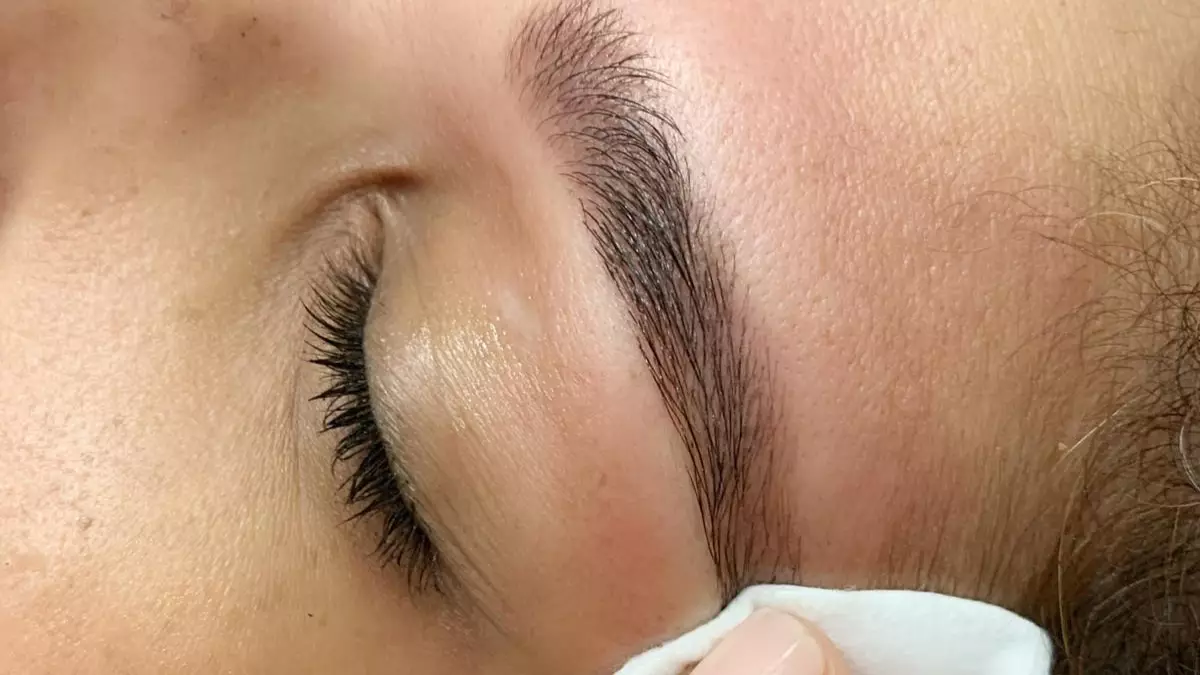
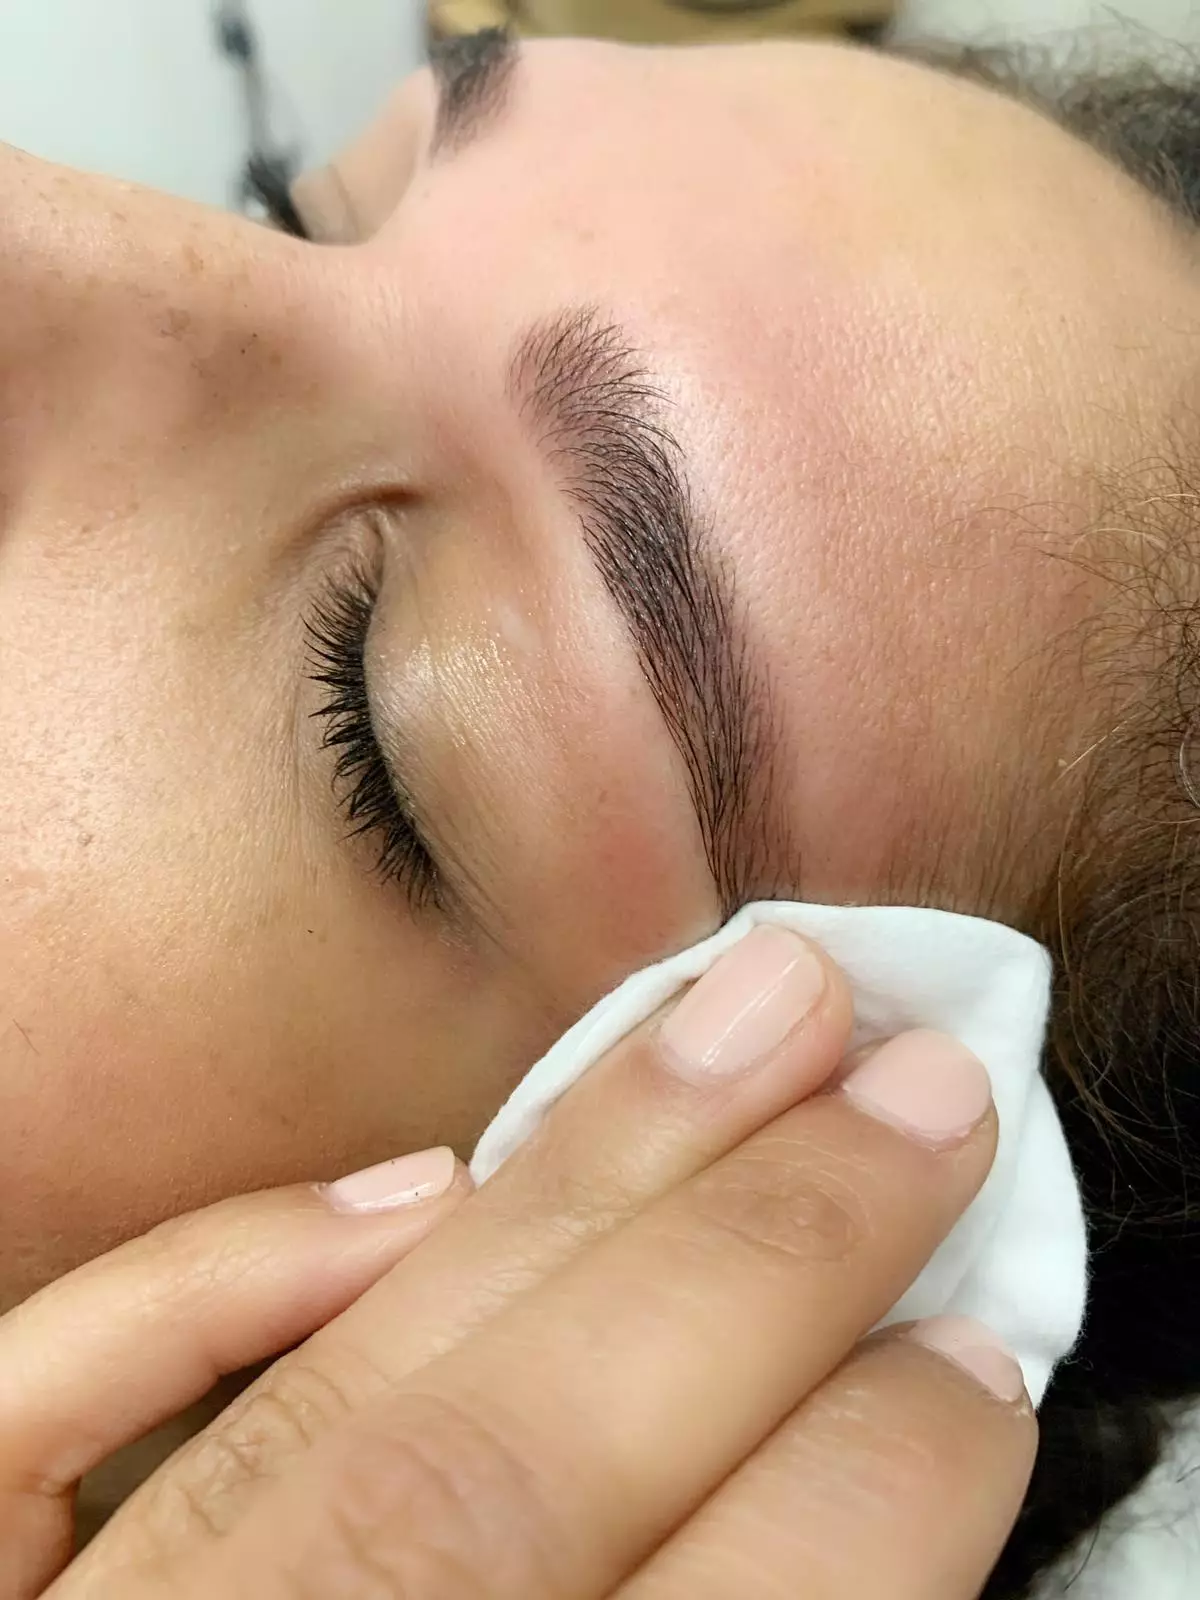
9. To remove, simply wet a cotton pad and wipe the mixture off in a clean, gliding motion. Start from the inside and work your way out to the tail. Repeat as needed.
10. Now that you have a fresh tint, all you need to do is run a styling gel, like a clear brow gel mascara, through your brows to subtly fluff them up.
Top tips
- A common mistake to make with tint is for the inner corner of the brow to look overly dyed and block-like. To avoid this, you can always wipe off the inner corner after 6-7 minutes, and leave the rest of the tint developing. This will give you more of the natural look.
- If you prefer a darker, more stylised brow, you may prefer to leave all of the tint on for the same duration of time.
- If you find your skin gets irritated from the dye, aloe vera, rosehip oil or rose water are all-natural soothers.
- Have fun, play it safe, and be extra careful not to get the tint in your eyes.
Happy tinting, people!
Featured Image Credit: Brows By SumanTopics: Hair and Beauty, Beauty